
The Role of Color in Your Wedding Flower Arrangement

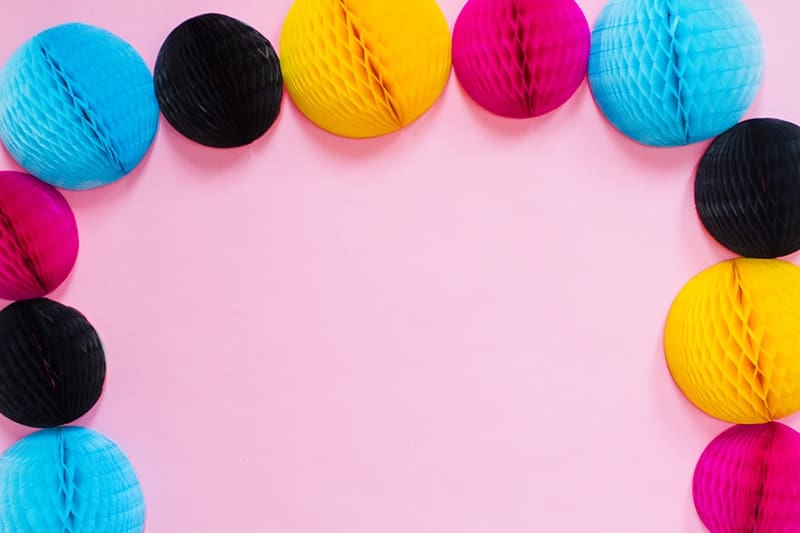
HOW TO CREATE YOUR OWN COLOURFUL HONEYCOMB BACKDROP
If you love colour as much as we do at Bespoke Bride then this DIY is for you! Perhaps you’re thinking of creating your own backdrop for a photo booth? Or you want something pretty to stand in front of during the ceremony? Well we’ve got your back! Here’s how to recreate this bright and bold backdrop…
YOU WILL NEED:
A backdrop stand // A plain coloured backdrop (we got ours for £25 online) // faux flowers // A selection of honeycomb balls // Double sided tape or a glue gun //
STEP 1:
Hang up your backdrop onto the backdrop stand and secure in place
STEP 2:
Start to either tape or glue your honeycomb balls to the backdrop, making sure they’re close together. I used double sided tape for this because I wanted to use the backdrop again but if you want it to be a little more secure then glue away!

STEP 3:
Keep sticking your honeycomb balls around the edge of the backdrop.
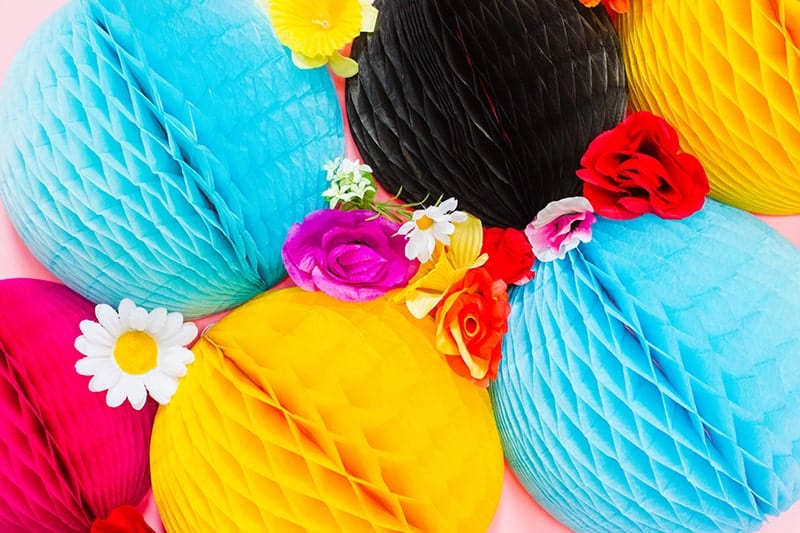
STEP 4:
Once they’re all on there, take your faux flowers and start filling in the gaps!
STEP 5:
Keep going until you’re completely happy and everything is secure! You’ll be left with something that’s oh so pretty!

Why This DIY is So Popular
The popularity of this vibrant backdrop DIY lies in its versatility and the ability to inject a pop of color into any event. Whether you’re planning a wedding, a birthday bash, or a themed party, a colorful backdrop can transform the atmosphere and add a whimsical touch to your photos. Its ease of customization also makes it a go-to choice for DIY enthusiasts. With an array of faux flowers and honeycomb balls available in various colors and sizes, you can tailor the backdrop to match any theme or color scheme. Plus, it’s budget-friendly, offering a cost-effective way to make a big visual impact.
Conclusion
In a world of celebrations and special moments, adding a burst of color to your backdrop can elevate the entire event. This DIY project not only allows you to unleash your creativity but also serves as a beautiful canvas for your photographs, capturing memories that will be cherished for years to come. So, whether you’re saying “I do,” blowing out birthday candles, or simply celebrating life’s moments, this bright and bold backdrop is here to make your special day even more vibrant and unforgettable. Get ready to let your creativity bloom and create a backdrop that’s as unique as you are!