

Crafting Your Dream Wedding Arch: A Step-by-Step Guide for DIY Brides

MAKE THESE PASTEL PUMPKIN COOKIES FOR HALLOWEEN!
I don’t know about you but I can’t quite believe it’s October already, I mean we’re practically half way through the month now?! Say what! The good news is this means Halloween is just around the corner & if you’re anything like me then you’re getting super excited right about now! As you know we’ve never been ones to do things traditional around here so while Halloween may look like a mass of orange and black to some people, to us it’s still all pretty pastels and bright bold colours!
Today’s DIY couldn’t be easier if you want to welcome in the holiday with a little sugar (um…hello, who doesn’t?!) and we just knew there would be no one better to create this DIY than Deanna from Obsessive Cookie Designer! Her decorating skills are the bomb & if you haven’t checked out her Instagram then you must have been living under a rock because it’s all sorts of beautiful!
YOU WILL NEED
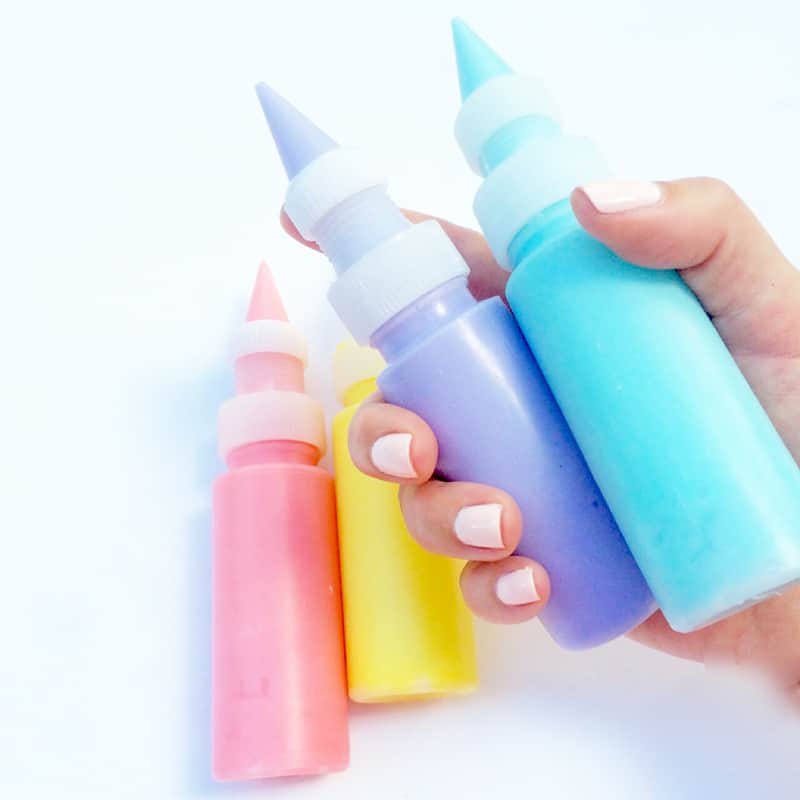
6 cups flour // 3 tsp. baking powder // 2 cups butter // 2 cups sugar // 2 eggs // 2 tsp. vanilla extract // 1 tsp. salt // 3 3/4 cups sifted confectioners(powdered) sugar // 3 T meringue powder(I buy at Michael’s) // 6 T warm water // pumpkin shaped cookie cutter // Food colouring of your choice // A piping bag or bottle //
STEP 1:
Cream butter and sugar. Add eggs and vanilla. Mix dry ingredients and add to butter mixture. Mix well then chill the dough in the fridge before rolling out.
STEP 2:
Roll to desired thickness and cut into your pumpkin shapes! Then bake on ungreased cookie sheet at 350 degrees for 8-10 minutes or just until beginning to turn brown around the edges. (Top tip: If you are having a problem with your cookies holding their shape, it helps a lot if you put them in the freezer on the baking sheet for about 15 minutes before you bake them.) Then leave to cool.
STEP 3:
Beat your powdered sugar, meringue powder & warm water for 4-5 minutes, until smooth then separate into how many colours you would like and add your colouring gradually until you’re happy with the shade.
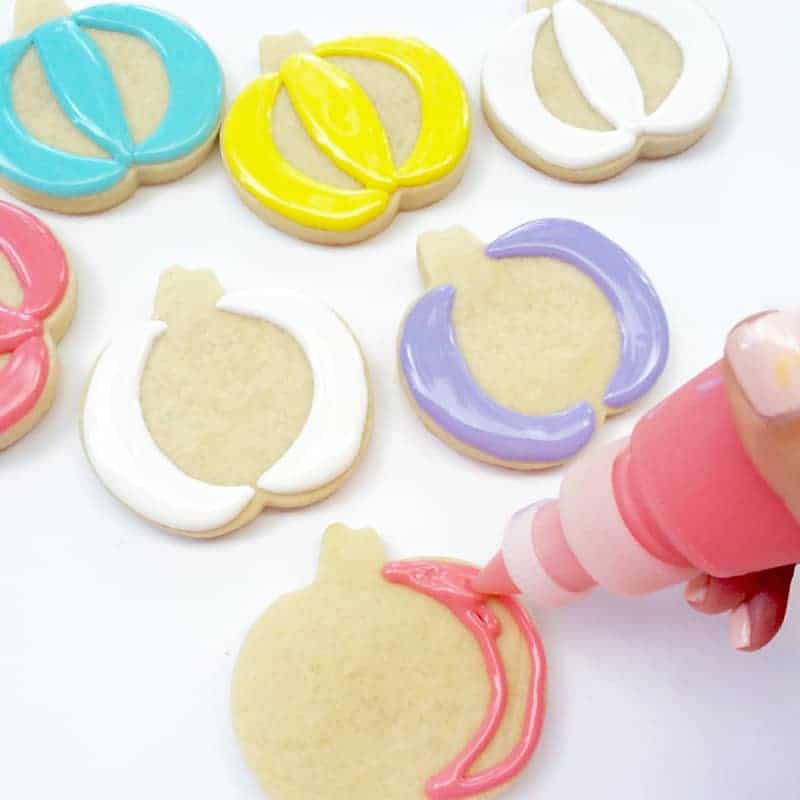
STEP 4:
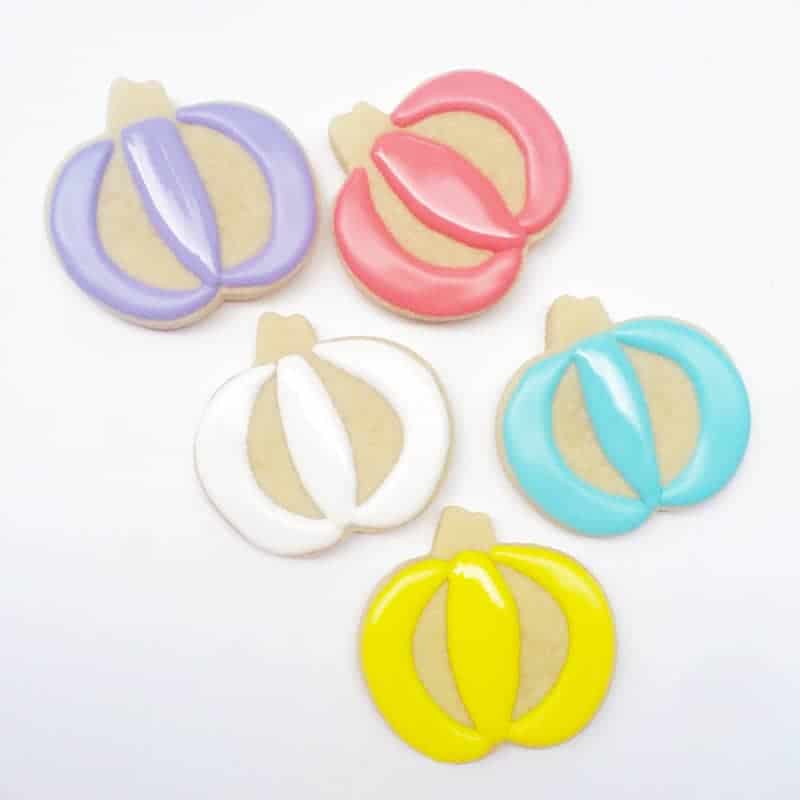
From a piping bag or bottle, start piping pumpkin sections and allow each section to dry before you move onto the next. This will create the pumpkin lines. Then finally, finish with a stem!

JOB DONE! How cute are these?! I’m not sure they would even make it to my table looking this darn good, I would probably eat them all! xxx
Original cookie recipe here // Photos & concept by Obsessive Cookie Designer //

