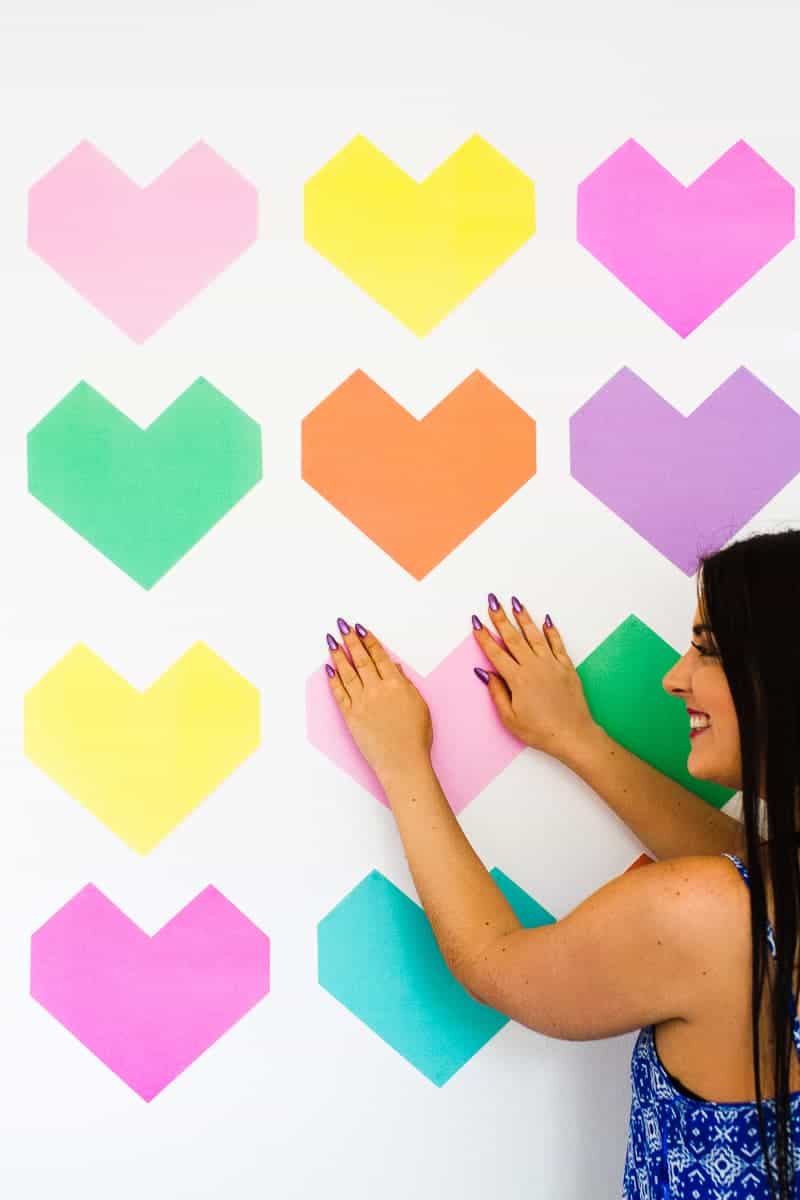
MAKE THIS FUN AND SUPER EASY GEOMETRIC HEART BACKDROP!

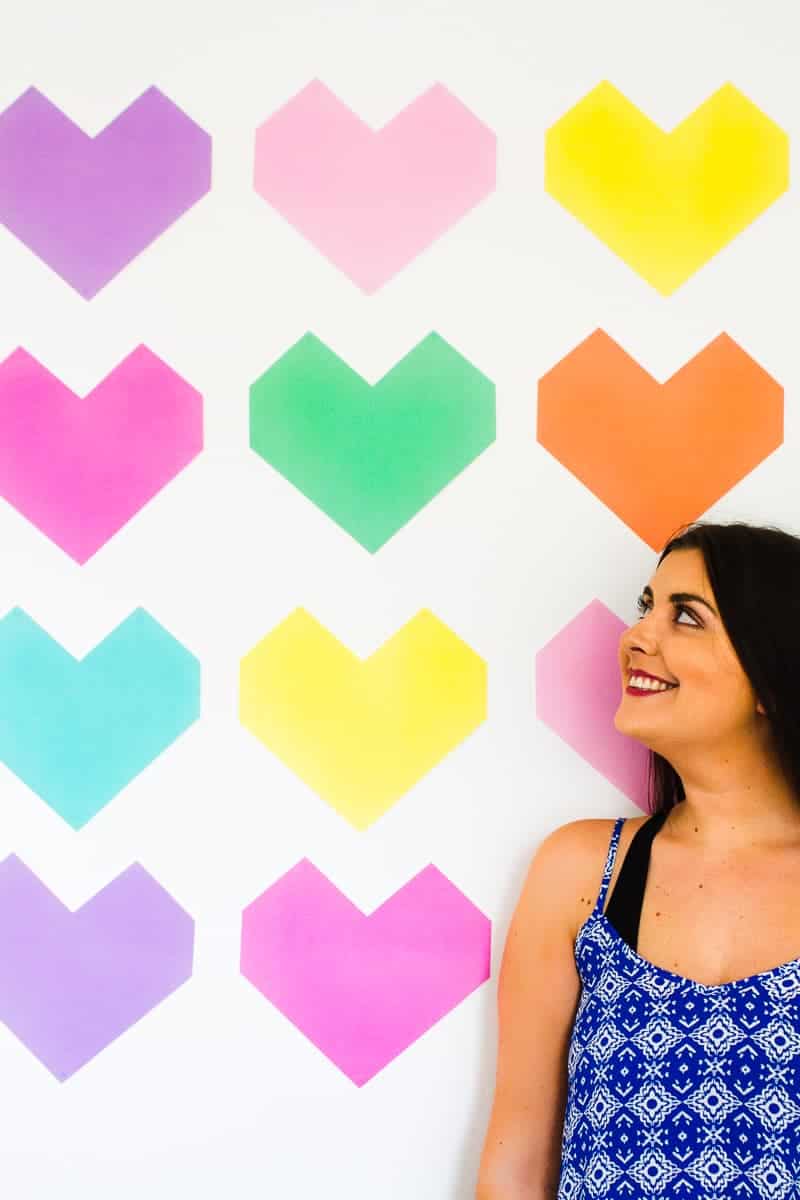
Backdrops are the bomb am I right? Whether you want to use one for a photo booth, set the background for a dessert table or even style one up for an altar they’re the perfect way to update the look of a room very quickly! So if your venue just happens to have a plain wall that you’re wanting to style up or maybe even use for a Photo Booth back drop then today’s DIY is for you! Not to mention it’s probably the easiest backdrop DIY we’ve ever made!

YOU WILL NEED:
Plain paper in a variety of colours (We bought a 12 x 12 pack) // A pair of scissors // A ruler // white tac // A pencil //
STEP 1:
Draw the shape of a geometric heart using your pencil and a ruler onto one of your sheets of paper or onto a piece of card, then cut it out. We sized our hearts roughly 10 inches by 10 inches.
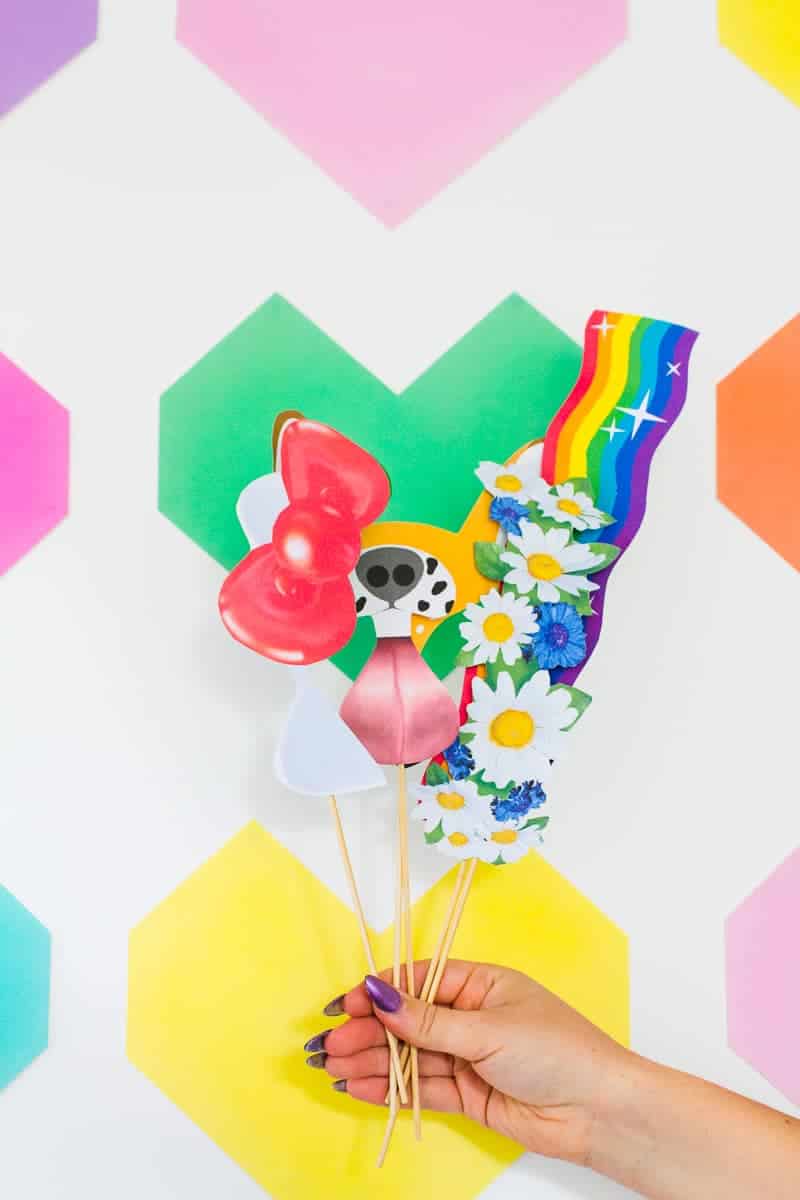

Pssst…If you want to know what props we’re using in these photos it’s our Snapchat photo booth props! So fun right?! You can grab the original set and the new set below if you want them for your own booth!
STEP 2:
Use this shape as a stencil to cut out the rest of the hearts, so simply trace around the outside of it onto each piece of colourful paper and then cut them all out until you have enough hearts to fill the space of the wall you need to cover.
STEP 3:
Once you’re ready, simply white tac them to the walls (better check the permission of the venue first to make sure they actually allow white tac).
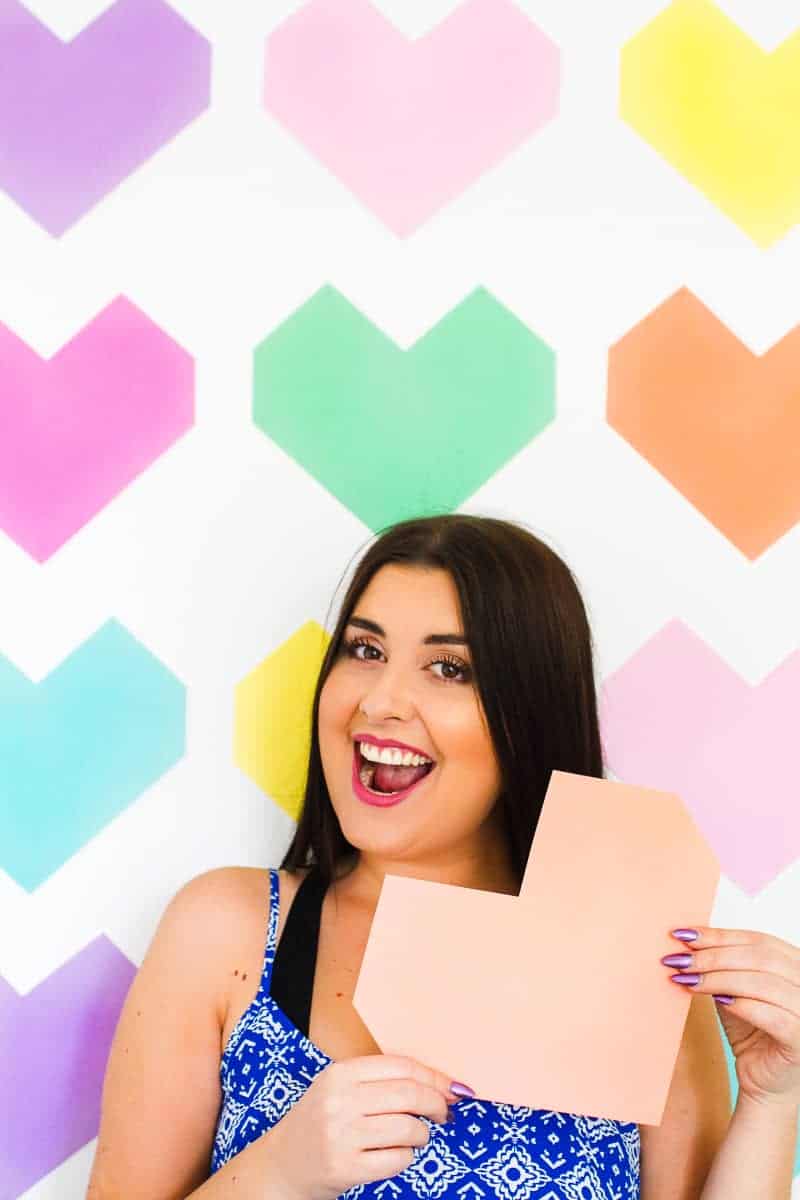
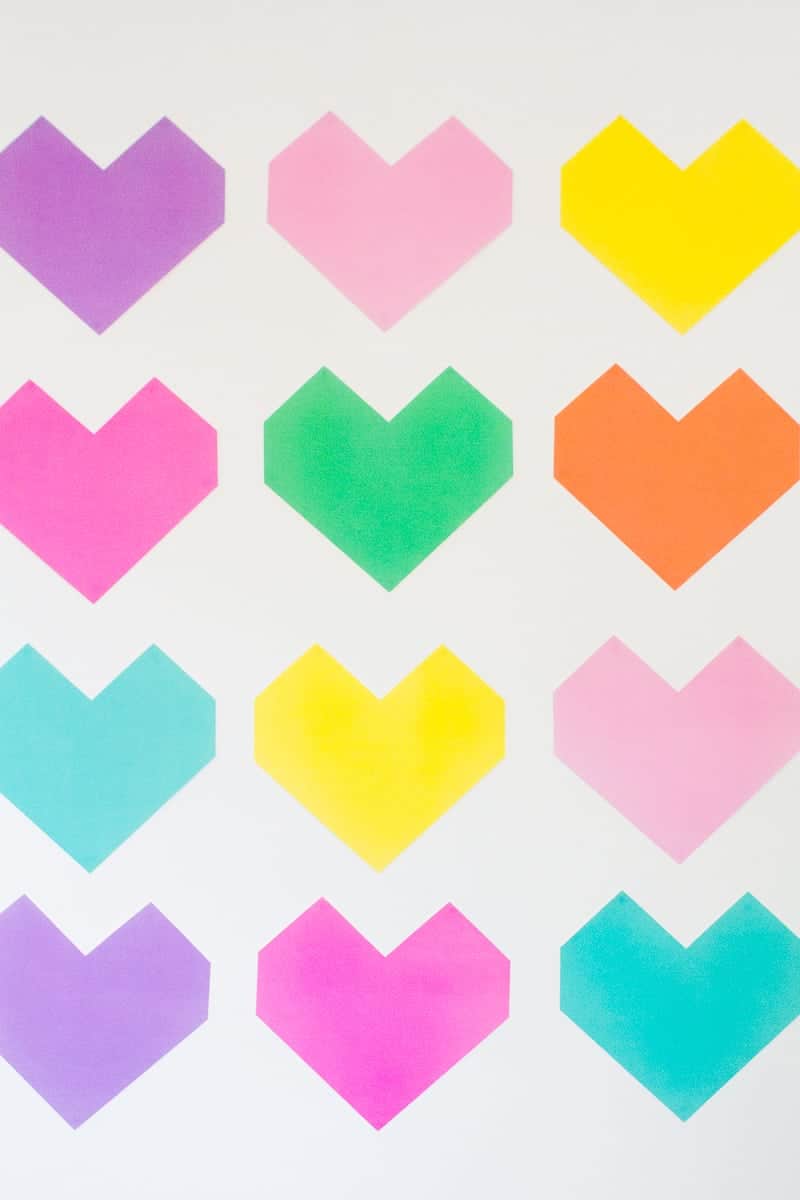
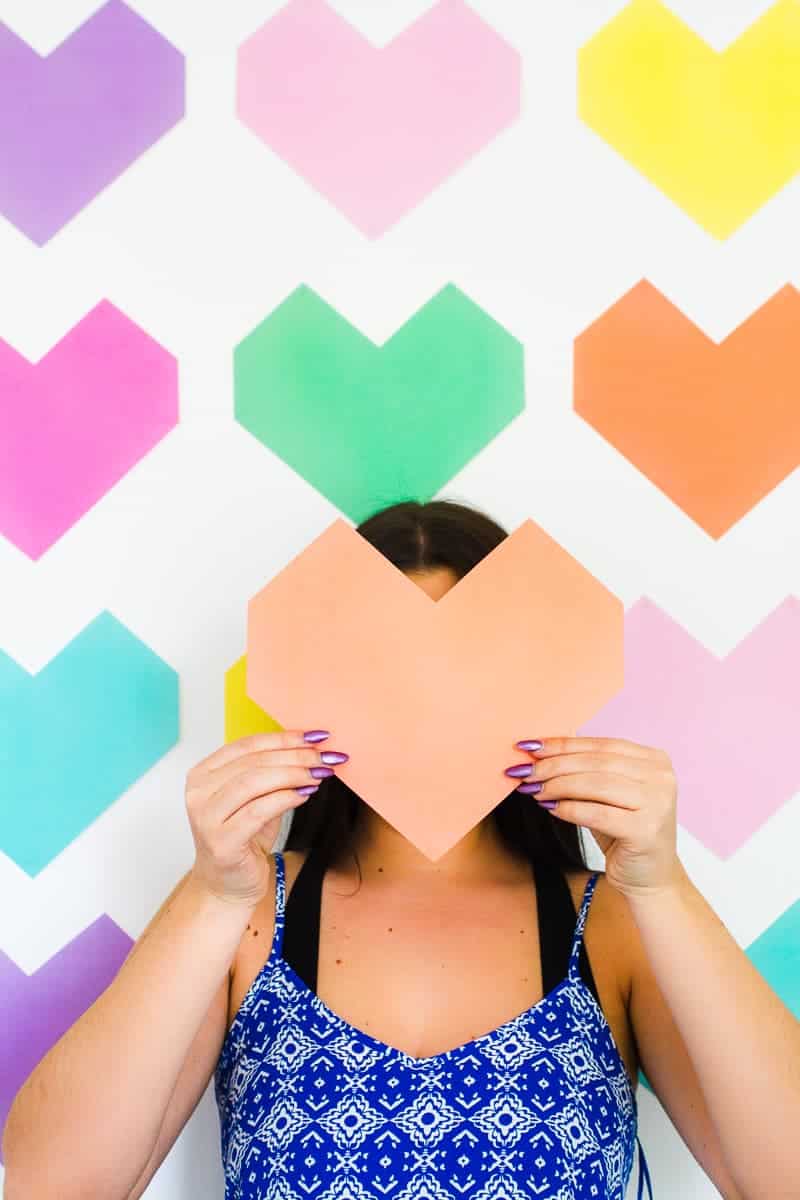

And that’s really all there is to it! Isn’t it amazing the effects the hearts have once all placed together though?! They really add a splash of colour to the wall and brighten everything up! Fun right?! I think they would look awesome in all different metallics shades too, that’s the beauty of this DIY, you can just choose the colour paper that matches your theme and tie in the backdrop nicely! And the whole thing costs under a tenner! xx


