DIY RAINBOW UNICORN PUMPKIN
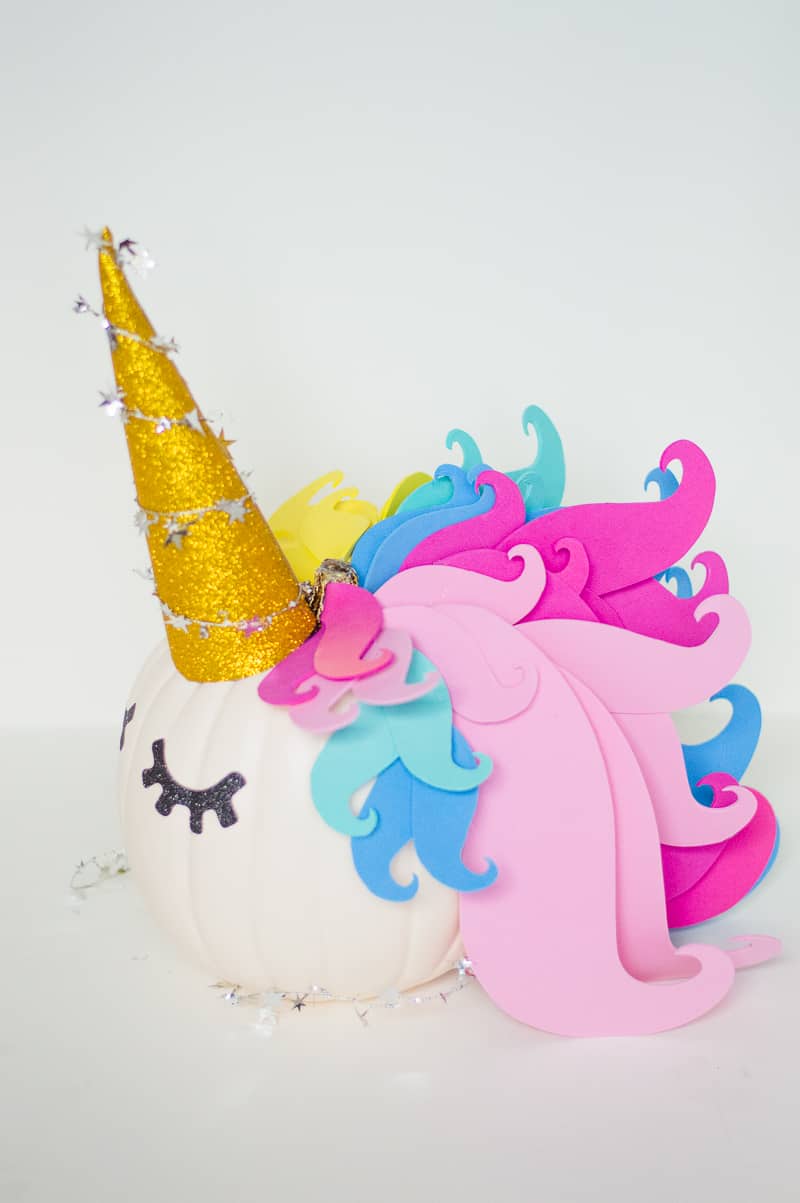 Eek I am so excited for today’s DIY you guys! We’ve got Kristen here from A Girl and Her Glitter showing us exactly what an easy and fun project it is to make this Autumn and we just know you guys are going to love her work! Be sure to check out her blog here and head on over to her instagram here where she shares tons of fun party projects! Right let’s get started shall we? All the unicorn vibes are waiting…
 YOU WILL NEED:
White faux pumpkin // Craft Foam in muted bright colors // Gold glitter craft foam // Hot Glue gun/glue // The Cricut Maker // Rotary Blade // Cricut Glitter Vinyl //
STEP 1:
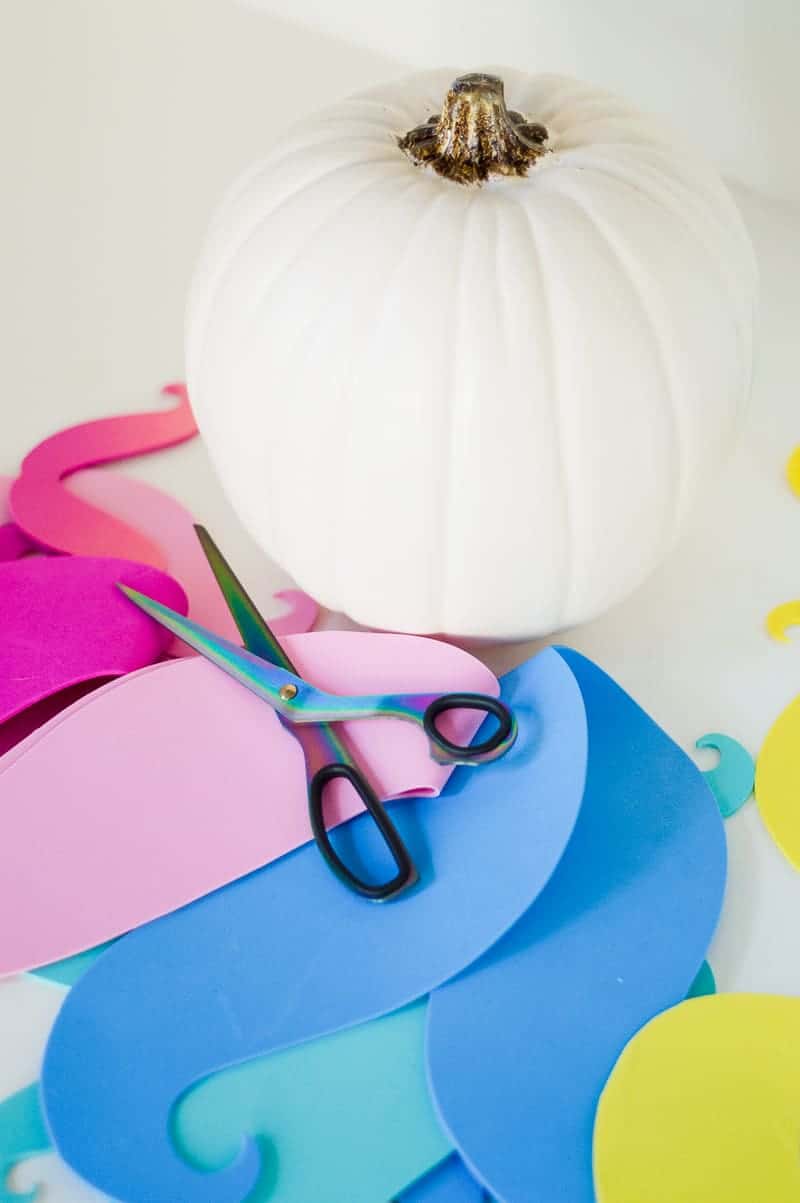
Gather your supplies and lay out the materials all of your magical goodies!
*Plug your glue gun in*
STEP 2:
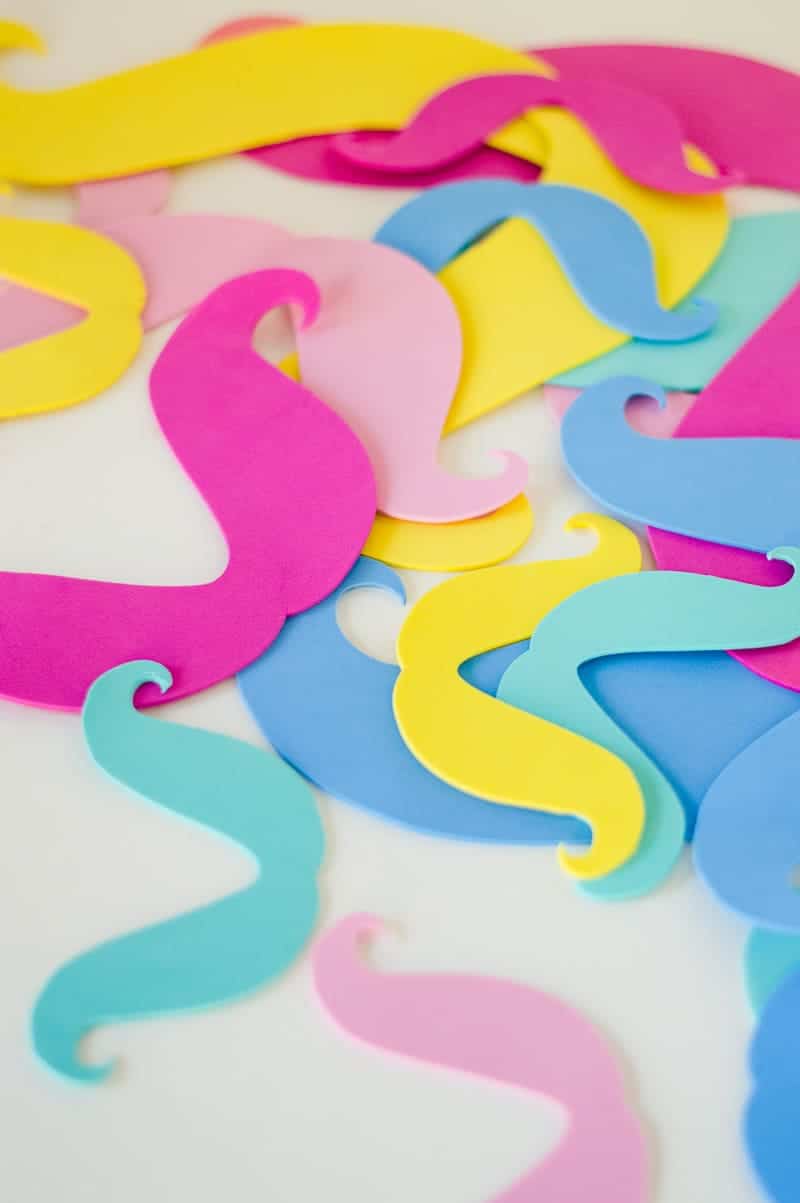
Using your Cricut Maker, open your design space, and click the icon to insert an image. Key in the word “mustache” and select your desired style. Be sure to fit more than one into the canvas for cutting. Depending on the size of your pumpkin- cut a large at 17 inches wide and 8.5 inches high. Medium cut out at 11 inches wide and 5.5 inches high. Smallest is 6.5 inches wide and 3.5 inches high.
STEP 3:
Using your rotary blade- select the first color of your craft foams and select cut.
 STEP 4:
Once your craft foam has been cut, begin to weed out (remove from your cutting mat) and continue with the next until all of the colored craft foam is finished.
STEP 5:
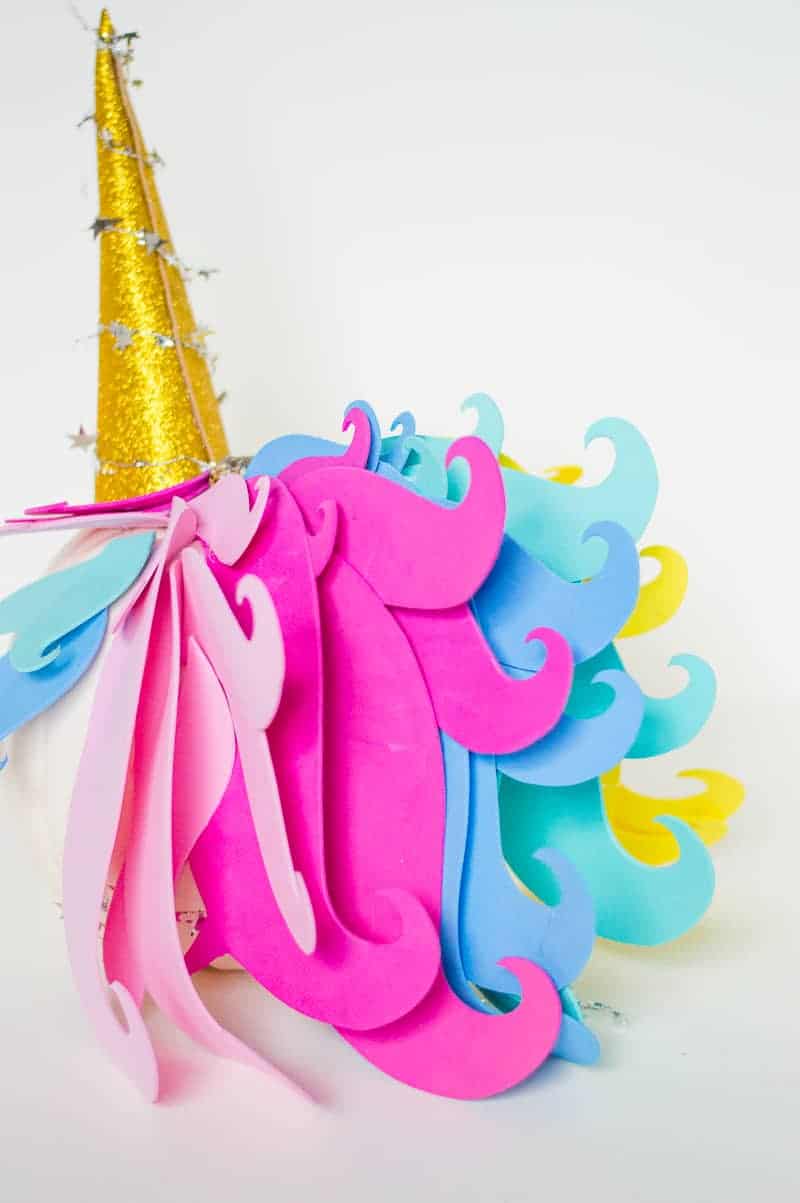
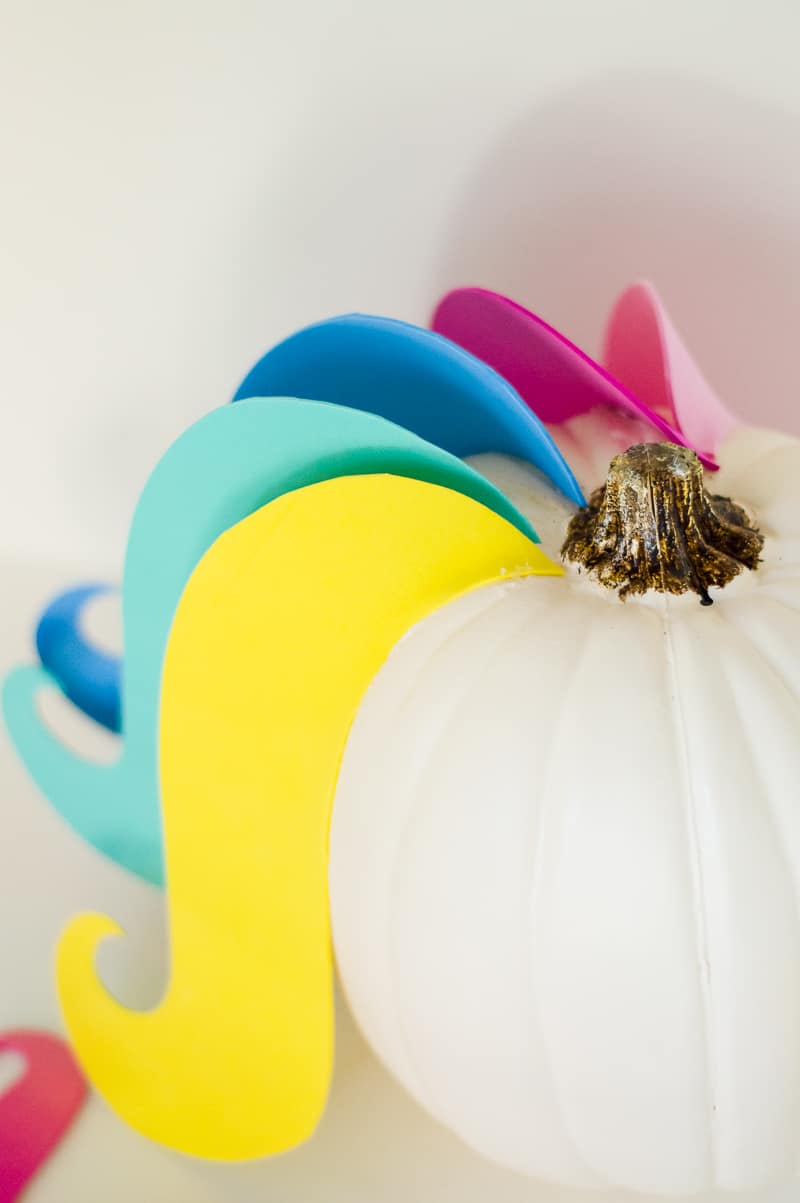
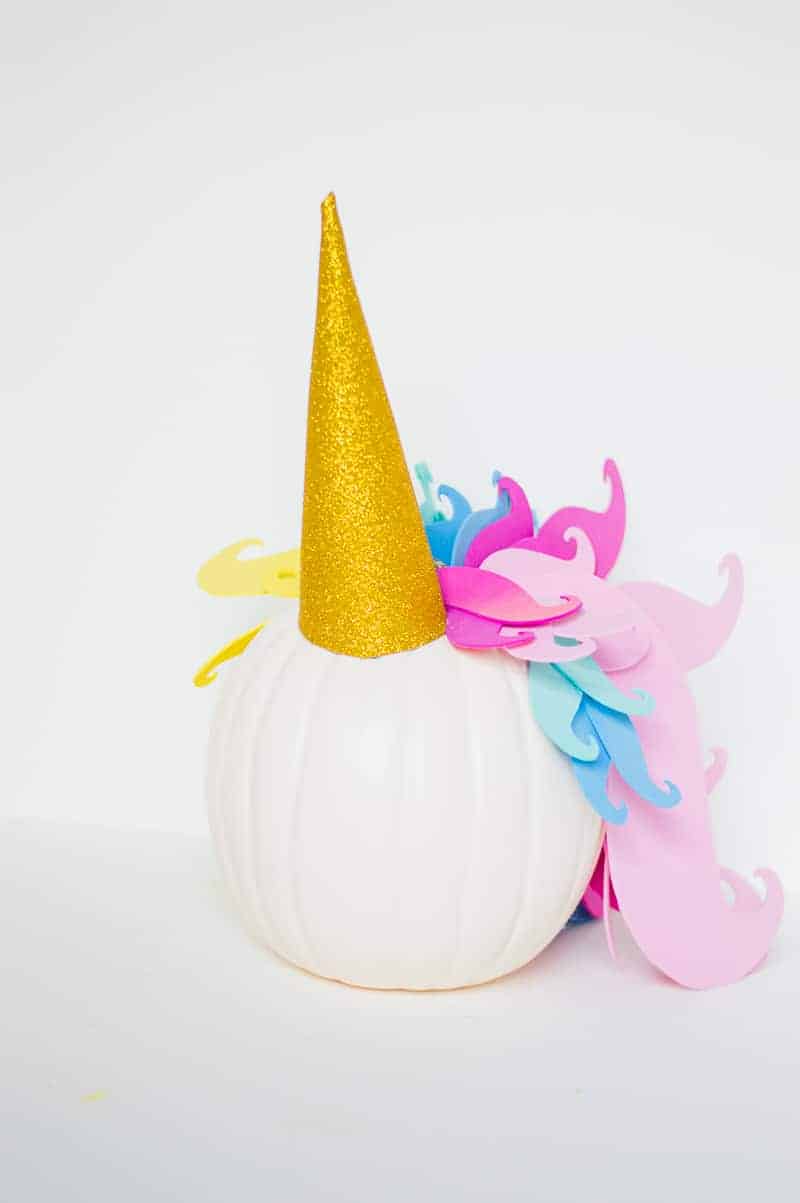
Gather all of your mustache cut out and starting with the biggest ones- cut those in half and before gluing the foam to the pumpkin- hold it in place against the pumpkin. If you need to trim the inside of your mustache to lay flat- using your scissors, cut where needed. Use your hot glue gun to attach the foam to your pumpkin. Repeat with the remaining bigger pieces.
*You do not have to cut your large mustaches in half, you can use them just as they are- see step 6*
 STEP 6:
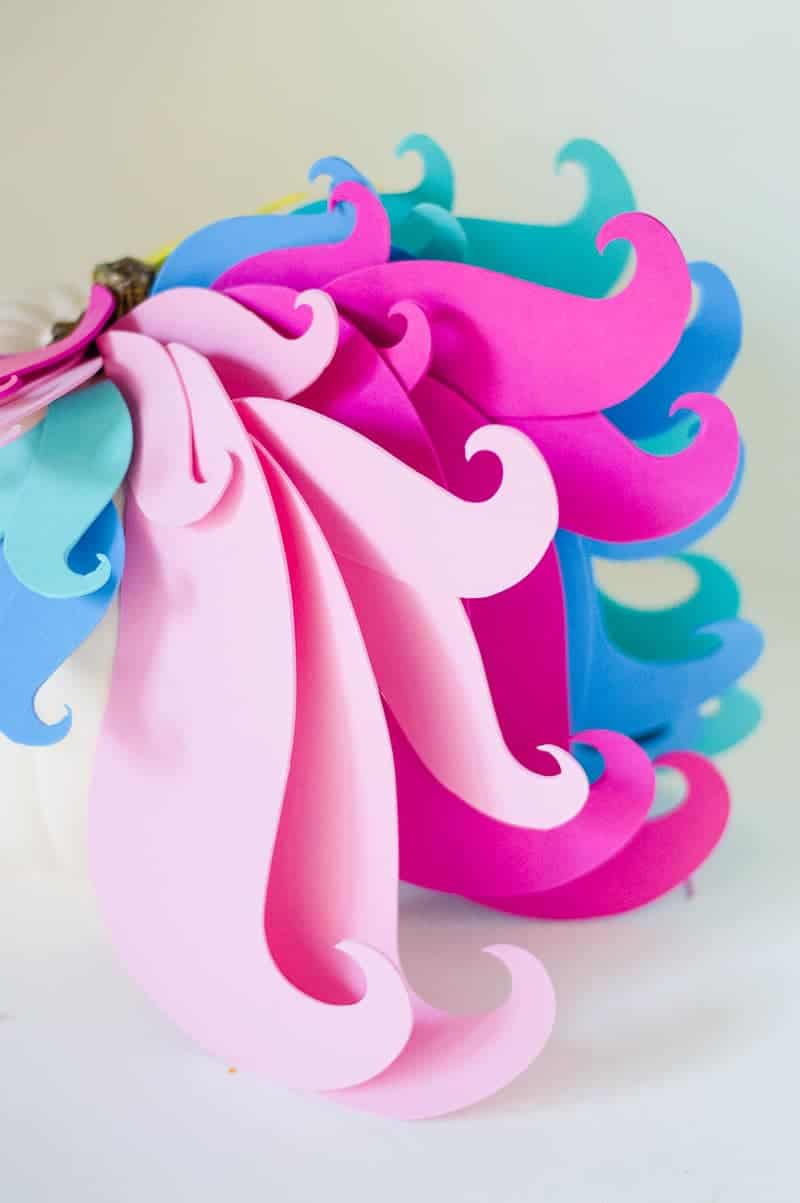
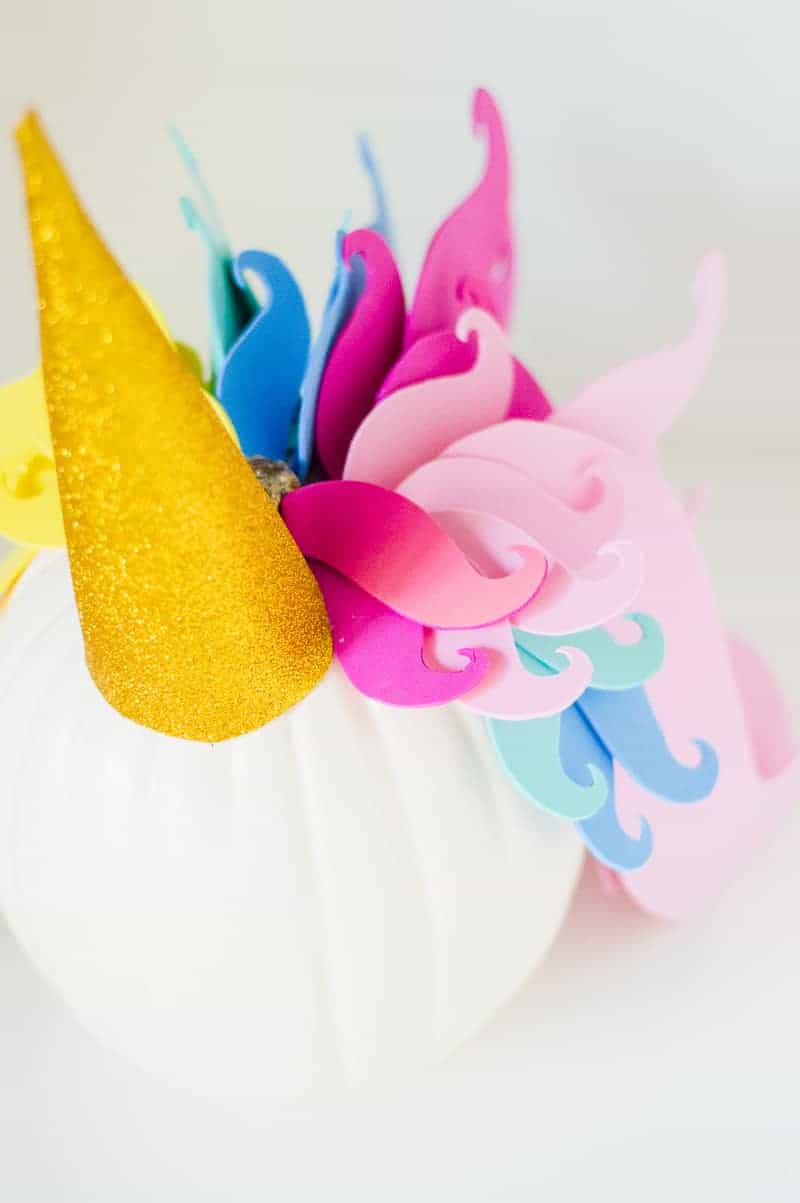
Once all of the large pieces are attached move onto your medium pieces. Hold over your medium mustaches onto each other and glue. With the folded craft foam place glue on the folded spine and attach to the pumpkin.
STEP 7:
Moving to the front of the pumpkin repeat step 6 for the smallest mustaches and place around what will be the face of the unicorn pumpkin.
 STEP 8:
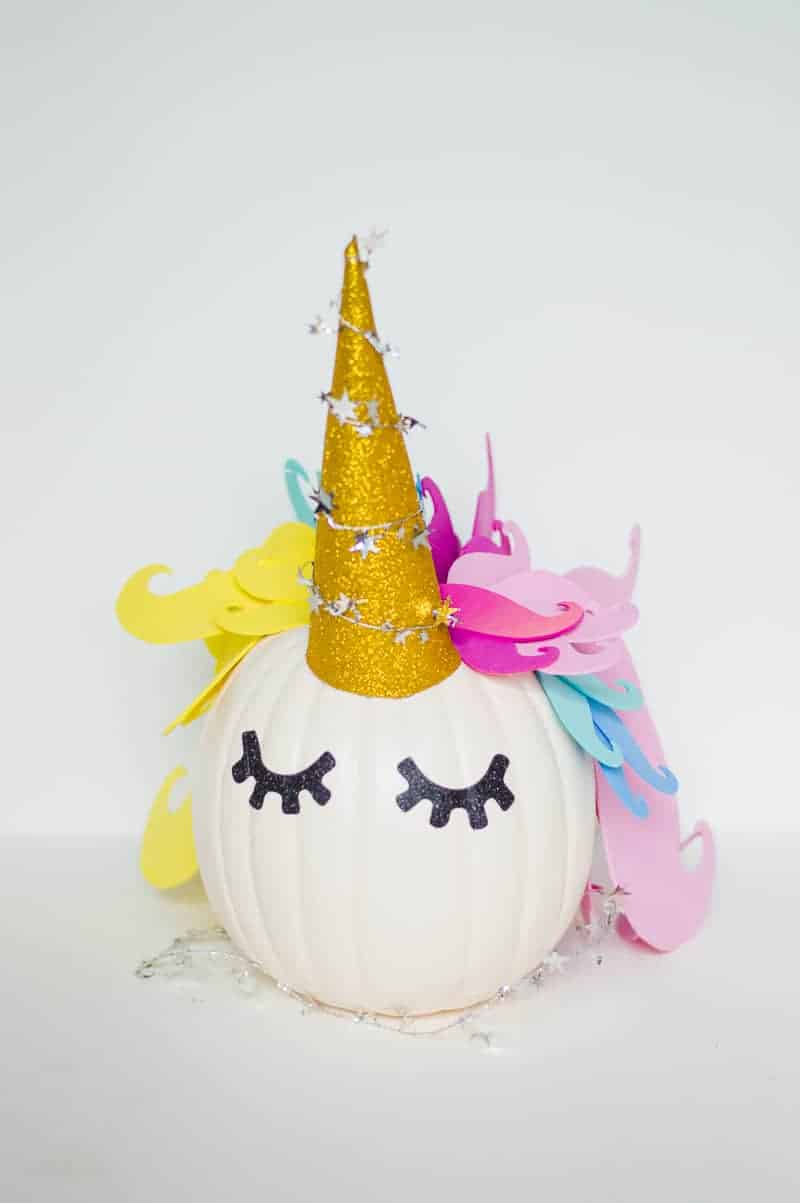
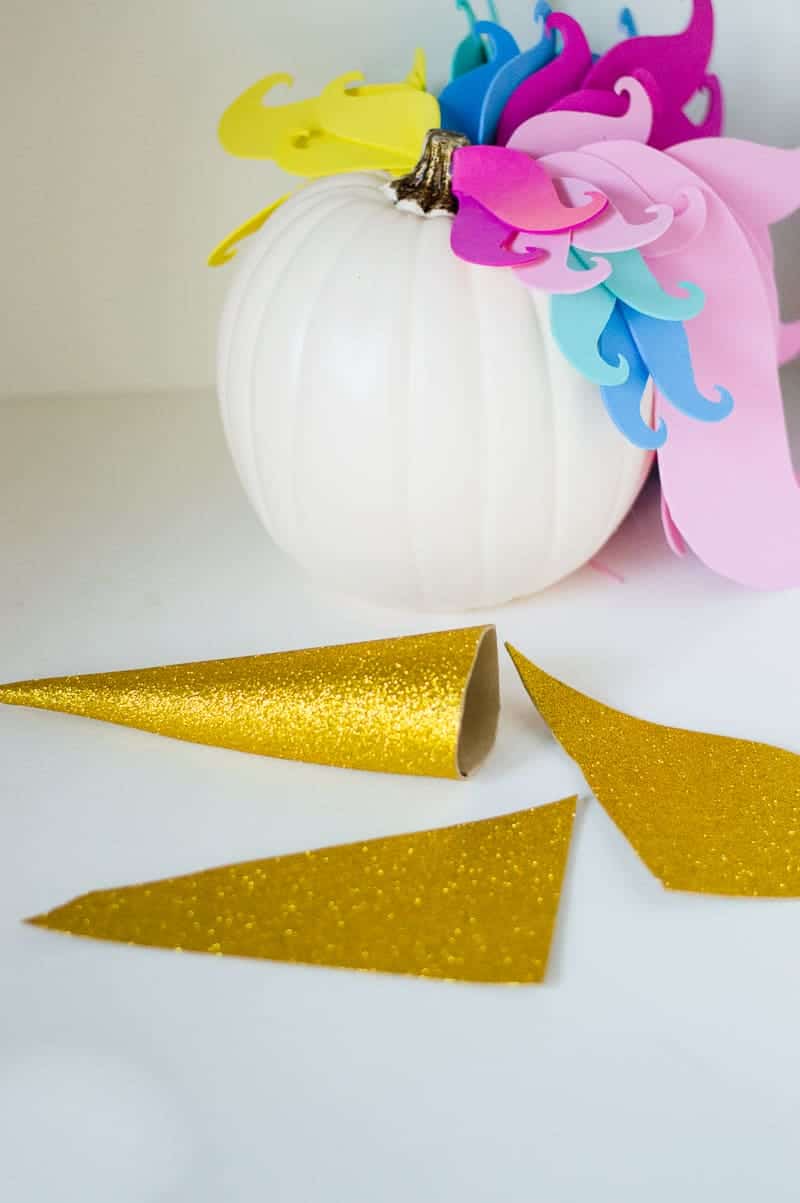
Take your glitter foam and take a corner and roll onto itself leaving a corner to be the point. Cut the bottom of the cone to create a flat surface and attach to the pumpkin- just in front of the pumpkin’s stump.
 STEP 9:
Add your black unicorn eyelashes. We used a created file from Love the Day that we downloaded and used the eyelashes. Using your Cricut- cut out the eyelashes and then simply attach to the front of the pumpkin.
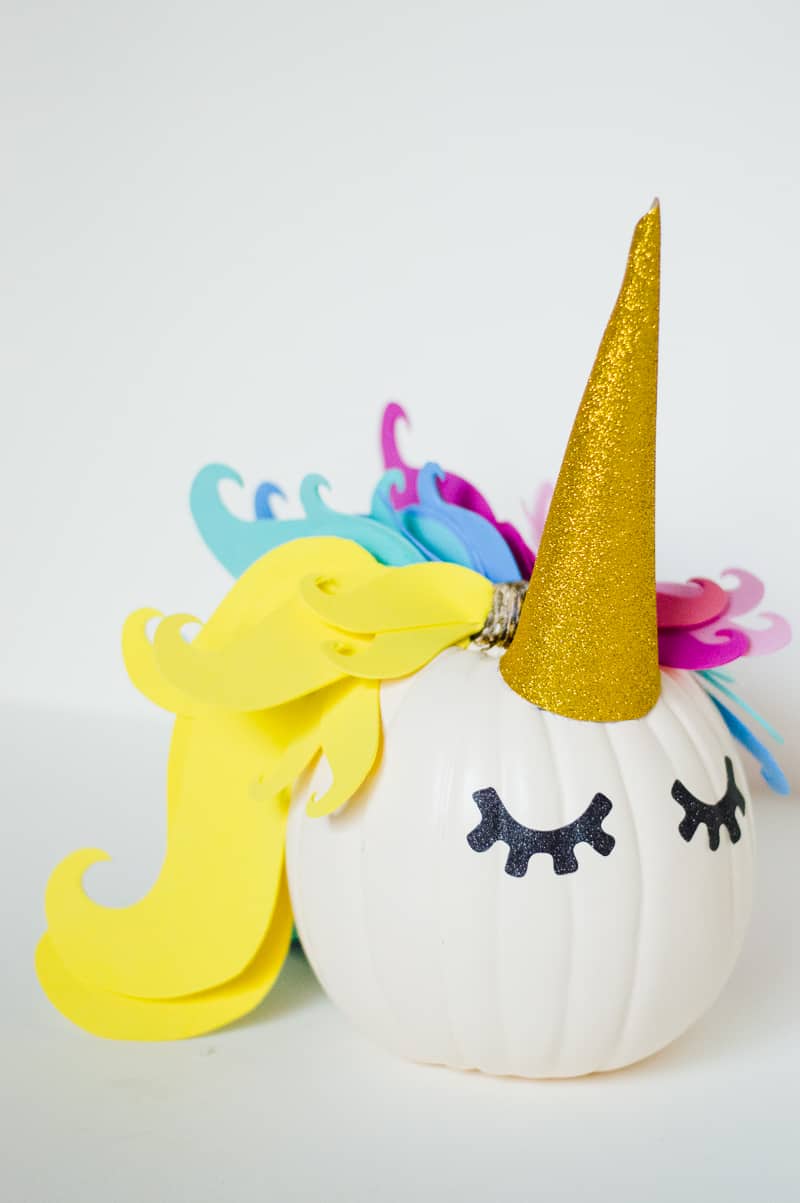 Then that’s it! Job done! Display your brand new rainbow unicorn pumpkin somewhere pretty and enjoy her for the rest of Autumn! Don’t forget you can also check out more of Kristen’s work here! xx


You gals are fantastic! So excited that you featured me!!! Xoxo